


We’ve taken a bit of a circuitous route getting our bus finished. We’ve been taking short trips to nearby state and national forests as we slowly build out our bus. This lets us still enjoy our bus as we’re building it. Plus, each trip gets a little bit nicer as we add more bus amenities. And one of the first things we added (after electricity) was a fridge.
Mini Fridge: Cute But Too Small
The first fridge we had was similar to this one. We had it bungee-corded to the wall of the bus. This was before we had any walls up inside the bus, and had nothing else besides a couch, a bed frame and a battery bank.
You can typically get a mini fridge for about $100-150 on Amazon. You might be able to find a better deal around the end of the summer, when college students are going back to school and need refrigeration in their dorms. Ours was a garage fridge that was moved into the bus.
As far as bus expenses go, that’s relatively affordable. Plus, they’re cute, and can fit into whatever space you have available.
Skoolie fridge lesson #1: We needed more than ~3 cu feet.
According to the internet, you need 4-6 cubic feet of fridge space for each adult. This number keeps popping up in my searches, despite no one actually backing their numbers up with actual math. Does this same number apply to skoolie fridges? Is it for at-home living only? 🤷♀️
Our mini fridge, by comparison, only had about 3 cubic feet of space. Our first skoolie trip was a long weekend, and we filled the entire mini fridge from our grocery run at Trader Joes. It may be that we did not meal plan efficiently, or that we packed too many cold brew coffees (definitely not).
But, we did learn that any trip a week in length or more would need a bigger fridge, at least for our needs.
We don’t eat a lot of meat, so most of our refrigeration was for dairy and vegetables. We don’t have a lot of packaged food, but we don’t want to sacrifice fresh fruits and veggies either.
If you’ve got 1-2 people doing trips of 1-2 weeks or longer, or you have a family doing any length of trip, you will almost certainly want a bigger fridge.
Skoolie fridge lesson #2: The fridge doesn’t need to be powered continuously
Anyone who’s lived through a storm or power outage knows that you have a couple days before food goes back in an unpowered fridge. In the meantime, you keep the door closed as much as possible (no indecisiveness while getting food out).
The same principle applies to skoolie fridges as well. With our mini fridge setup, it was very easy to unplug the fridge because we had so few other things in the bus. We could also turn off the entire battery system if we wanted to.
Once you get the rhythm figured out for your particular fridge and climate situation, you can get a power timer to automatically turn the fridge on or off.
Big Fridge: Big Enough but Caused Bus Floorplan Changes
We started looking for a full-size fridge. Our main requirement was that it be energy efficient. If it’s in your budget to get a new fridge, check out the Energy Star ratings website for fridges for an easy energy comparison.
I cannot find the exact model online but it was similar to this one. It has a freezer and fridge compartment, but is slightly smaller than a full-size “house” fridge. So, about 10 cubic feet, instead of 12-15.
This fridge was actually too big for our 1+ week long trips. But it’s better to have extra food while camping than not enough.
Skoolie fridge lesson #3: You might need to rethink your layout
Our skoolie is on the shorter side in terms of height, and we don’t plan on doing a roof raise. Because of this, we could not place the fridge against an outer wall of the bus, because the ceiling slopes down. Instead, we put it in the middle of the bus’ width.
This height issue caused us to rethink some of our layout plans. If you’re buying a fridge (or any other tall item for your bus), make sure it fits as expected, because most skoolie ceilings are measured in the middle.
Similarly, make sure that the door makes sense with your layout. Are you going to block the hallway when you have the door open? Are you going to run into other people’s leg space?
See if you can game this out before hand by drawing out your floor plan and by taping it out on the floor of your bus before you start building.
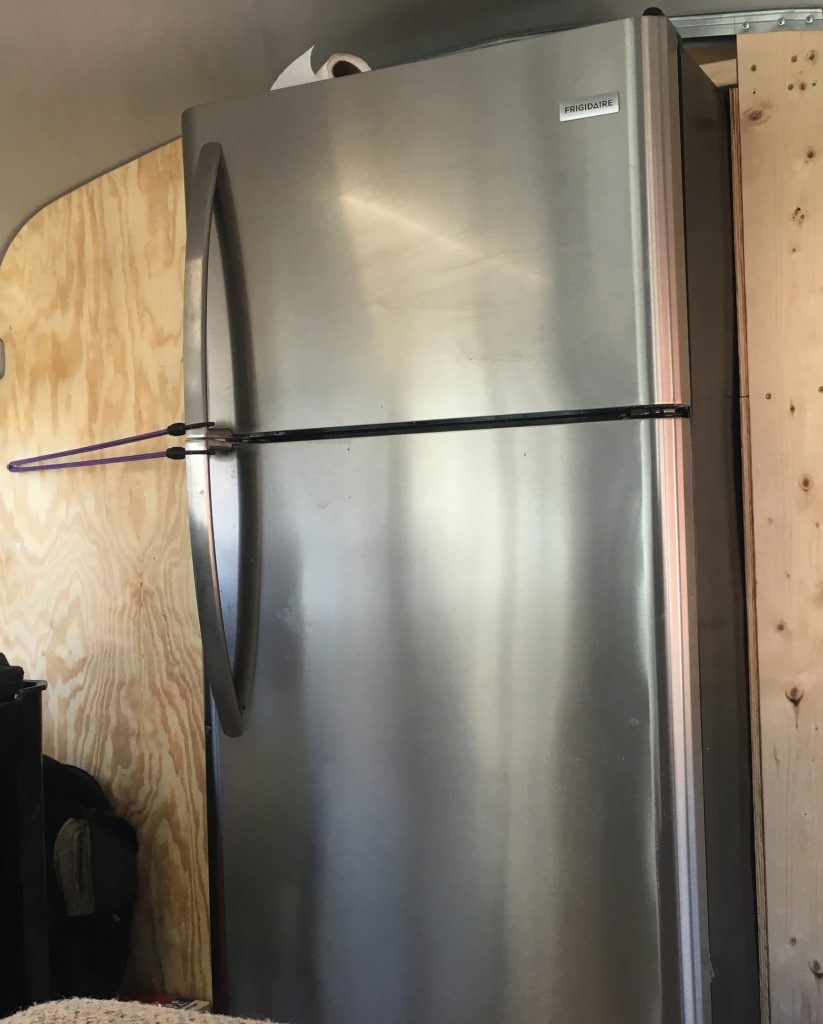
Skoolie fridge lesson #4: Keep the fridge closed!
Did you notice the bungee cord in the photo above? That keeps the fridge door from opening if there’s a sudden stop and the fridge contents want to lurch forwards.
If bungee cords aren’t your style you can easily and affordably add some child safety locks like these. (The bungee cord is temporary for us).
Skoolie fridge power calculations
Virtually every appliance will come with a power consumption rating. From that, you can figure out your daily or hourly usage with some basic math.
If you have an old, spare fridge that you are thinking about using, you might want to rethink your plan. Fridges made in 1996 can have 4x the power consumption of newer Energy Star-rated fridges. Since skoolie power is limited, it’s worth getting a more efficient option to cut down on generator usage and additional battery bank capacity.
You can also calculate your fridge power consumption yourself using a Kill-A-Watt meter and find out what the real usage is.